 European Peasant Bread - SO yummy
and wicked easy to make!
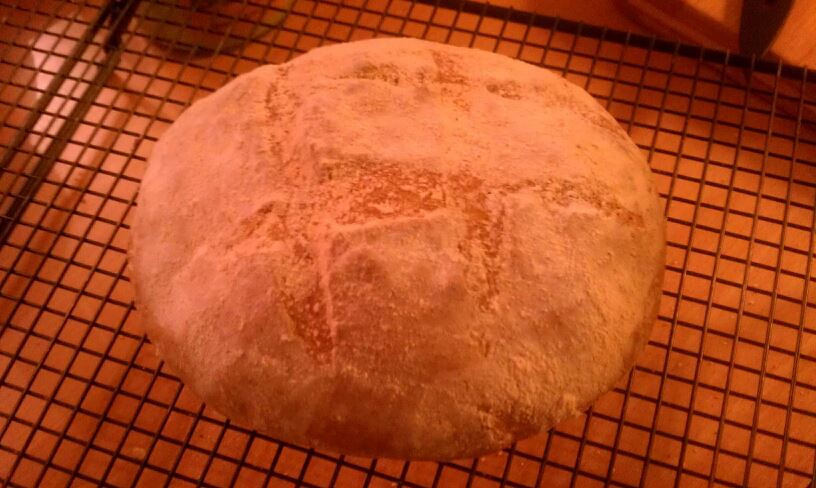
For a while now, I've always wanted to bake homemade bread like what you find in European bakeries, as well as at Whole Foods and Trader Joe's. I came across a few that piqued my interest, but the one that I decided to go with is a recipe for European peasant bread that was posted on a website called, "Pete Bakes!"
The recipe was super easy to do. I split the dough up into four balls, baked one of them and put the other three in the freezer; to be baked up on another day. I think the only thing I'd do differently is to use a tad less salt, as the bread tends to have more of a salty flavor than I'd like. But the reason for making this bread was to go with my homemade pea soup.
The recipe was super easy to do. I split the dough up into four balls, baked one of them and put the other three in the freezer; to be baked up on another day. I think the only thing I'd do differently is to use a tad less salt, as the bread tends to have more of a salty flavor than I'd like. But the reason for making this bread was to go with my homemade pea soup.
I've been making this soup for years from the leftover spiral ham bones that I get from my mom at Easter or from friends who are kind enough to donate theirs to "the cause". At one point, I've been known to have three ham bones with plenty of meat left on them taking up precious real estate in my freezer! Originally, I was using the recipe that I found in my well-worn paperback copy of Fannie Farmer's cookbook. Over time, however, I've learned to experiment and improve upon the recipe, as the original was too thin for my taste--I prefer a thicker pea soup.
So, for those who have requested the recipe, here it is:
So, for those who have requested the recipe, here it is:
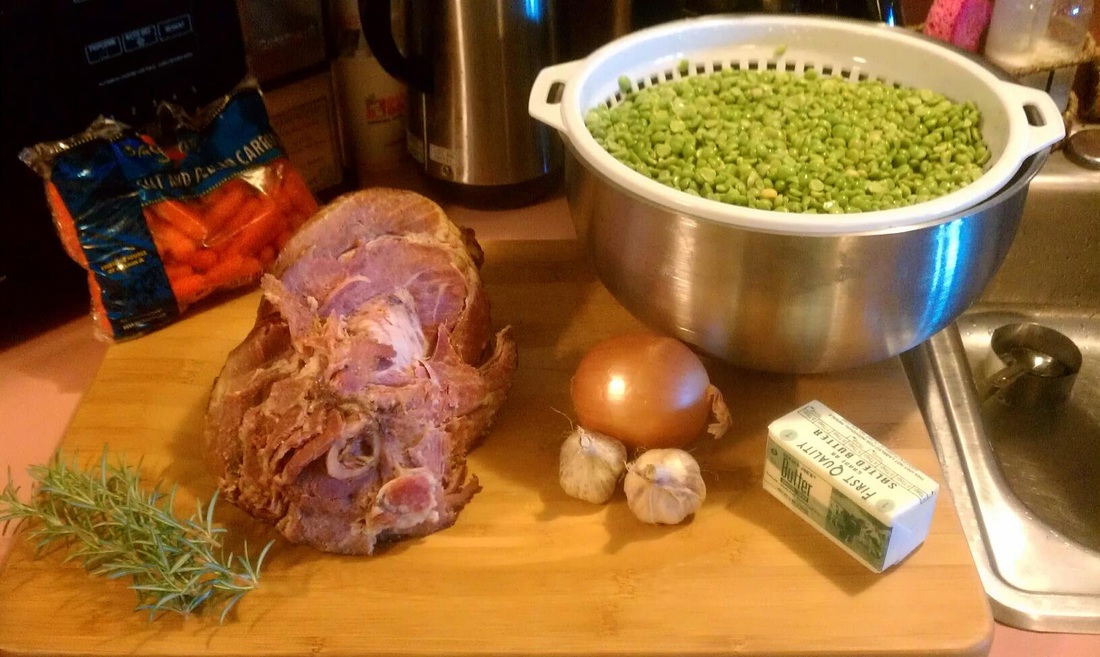 These are ALL the ingredients that I use to make pea soup.
 Pea Soup with Ham and Rosemary
Ingredients:
Soak peas overnight in water, then drain. In a large soup pot, melt the butter, then add the chopped onion, garlic, and ham bone, and cook, stirring frequently, for about 5 minutes. Add the water, peas, and salt. Simmer for about an hour or so, until the peas get mushy. Remove the needles from the rosemary sprigs and set aside.
Remove the ham bone and place on carving block to remove and chop the meat. In a blender or food processor, puree the soup and pour back into the soup pot. Add the chopped ham, rosemary, carrots, and pepper, and reheat on medium-low / low, stirring often, for about 30 minutes. Serve hot with slices of freshly-baked bread.
Ingredients:
- 2 lbs split peas (either green, yellow, or both)
- 1 onion, chopped
- 8-10 garlic cloves, chopped
- 4 Tbs butter
- 1 ham bone, meat still attached
- 9-10 cups water (add more, if desired)
- 1 tsp sea salt (optional)
- Freshly ground pepper
- 4 sprigs fresh rosemary (1 Tbs dried, crushed)
- 1 lb baby cut carrots, chopped
Soak peas overnight in water, then drain. In a large soup pot, melt the butter, then add the chopped onion, garlic, and ham bone, and cook, stirring frequently, for about 5 minutes. Add the water, peas, and salt. Simmer for about an hour or so, until the peas get mushy. Remove the needles from the rosemary sprigs and set aside.
Remove the ham bone and place on carving block to remove and chop the meat. In a blender or food processor, puree the soup and pour back into the soup pot. Add the chopped ham, rosemary, carrots, and pepper, and reheat on medium-low / low, stirring often, for about 30 minutes. Serve hot with slices of freshly-baked bread.
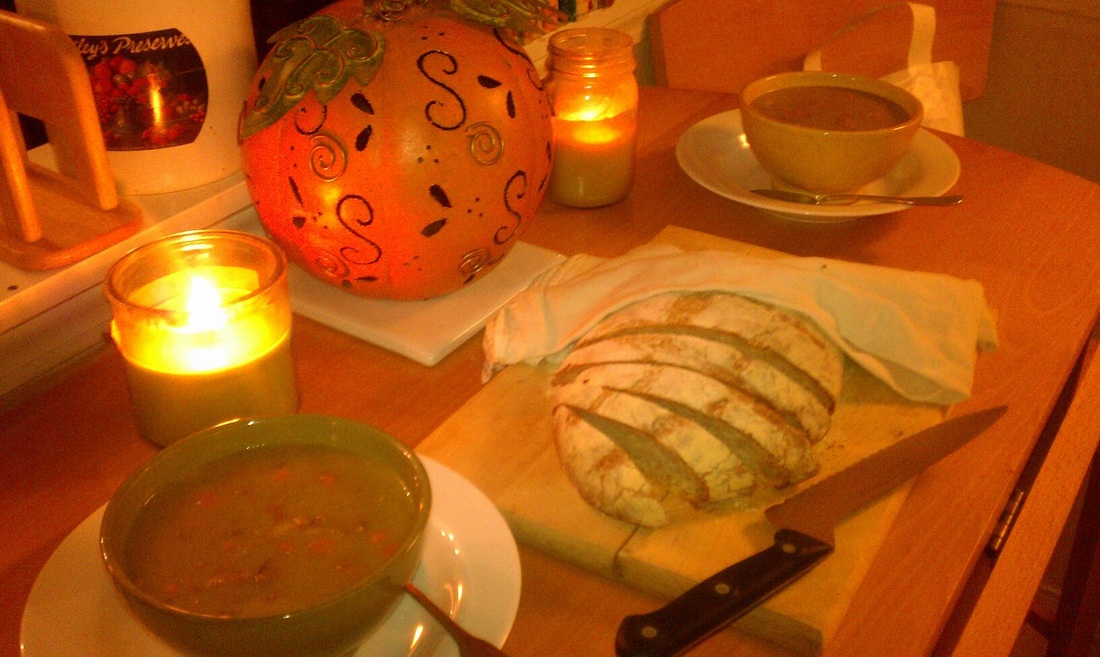
Dinner is ready!
And because I needed something to go with the leftover bread, I decided to make apple butter...
My daughter and I had gone apple picking with my mom, sister, and her kids to Hill Orchard in Westford, MA on Columbus Day. Unfortunately, there was not much left of my favorite variety, Macoun, but what we did find was Jonagold (my new favorite!), Ida Red, and Mutsu, among others.
I had already decided on making apple butter back when I was making those spiced apple apricot muffins last month, so now, with my peck of mixed-variety apples, I set to the task. I based my recipe for apple butter on this recipe that I found on Allrecipes.com. With a few minor changes, this is what I've come up with:
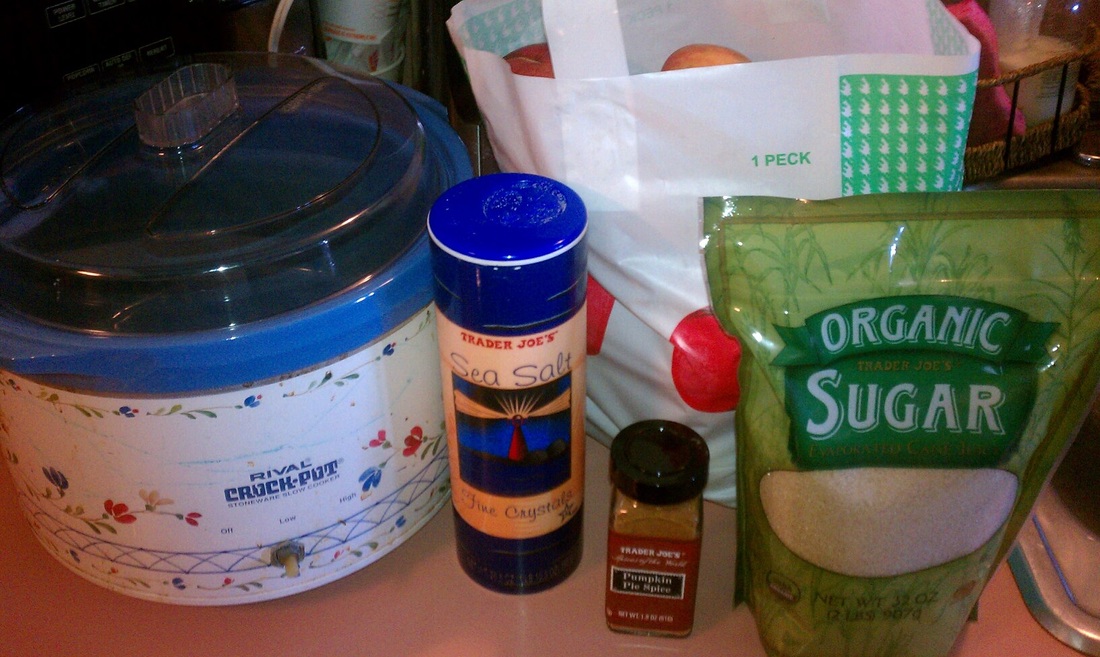 Only four ingredients required to make apple butter.
 3-Day Slow Cookin' Apple Butter
Ingredients:
Ingredients:
- 8-10 lbs of apples
- 1 Tbs Trader Joe's Pumpkin Pie Spice
- 2 cups organic sugar
- 1/4 tsp sea salt
 Step 1 - Peel, core, and chop apples.
 Step 1: Peel, core, and finely chop enough apples to fill a slow cooker. I did this by hand because I don't own a food processor. Overall, it took me about 2 hours do complete chopping portion of this step.
Needless to say, I highly recommend using a food processor! :-)
Needless to say, I highly recommend using a food processor! :-)
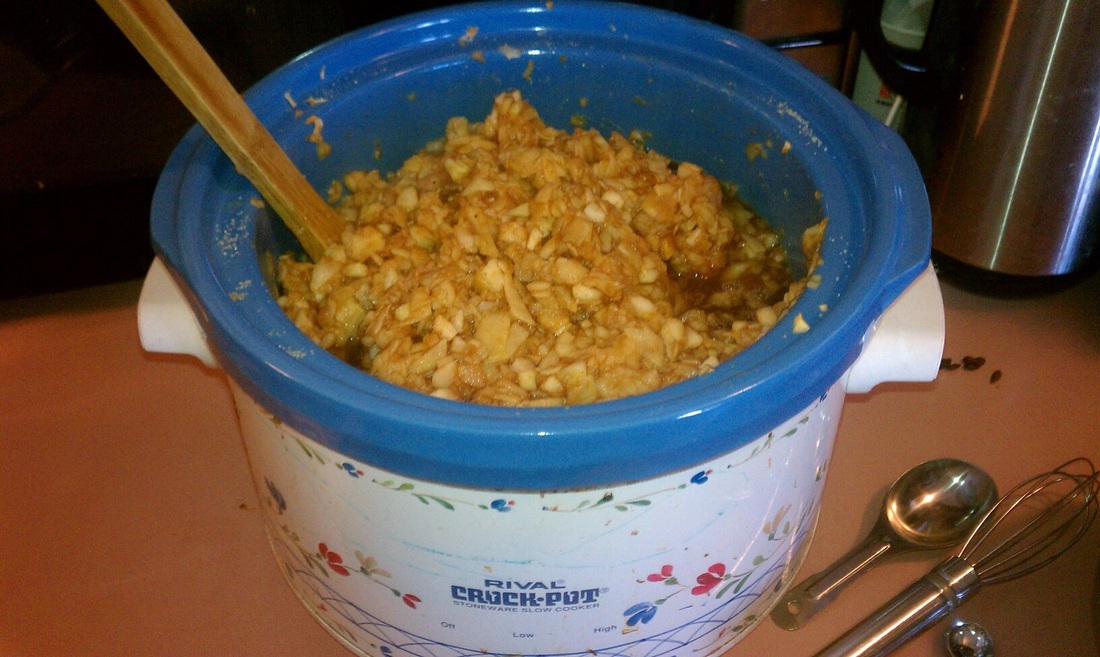
 Day 1: Apple butter cooking down. Just one more day to go!
 Step 2: In a separate bowl, mix the pumpkin pie spice, sugar, and salt, then add to the apples in the slow cooker. Mix thoroughly.
Step 3: Cook on HIGH for about an hour or so, then turn the setting down to LOW and cook for 2-3 DAYS, stirring occasionally.
Step 3: Cook on HIGH for about an hour or so, then turn the setting down to LOW and cook for 2-3 DAYS, stirring occasionally.
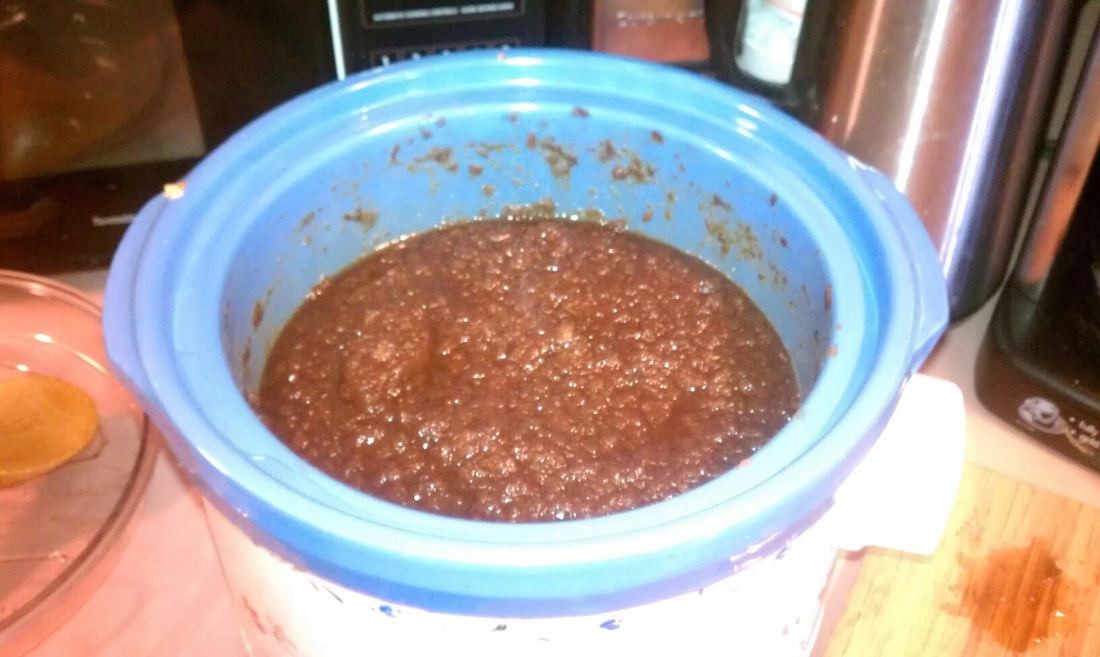
 Finished apple butter - SOOOOOO delicious!
 Step 4: Once the apple butter becomes a nice, dark brown color, turn off the heat and stir vigorously with a wire whisk until it has a "pureed" consistency.
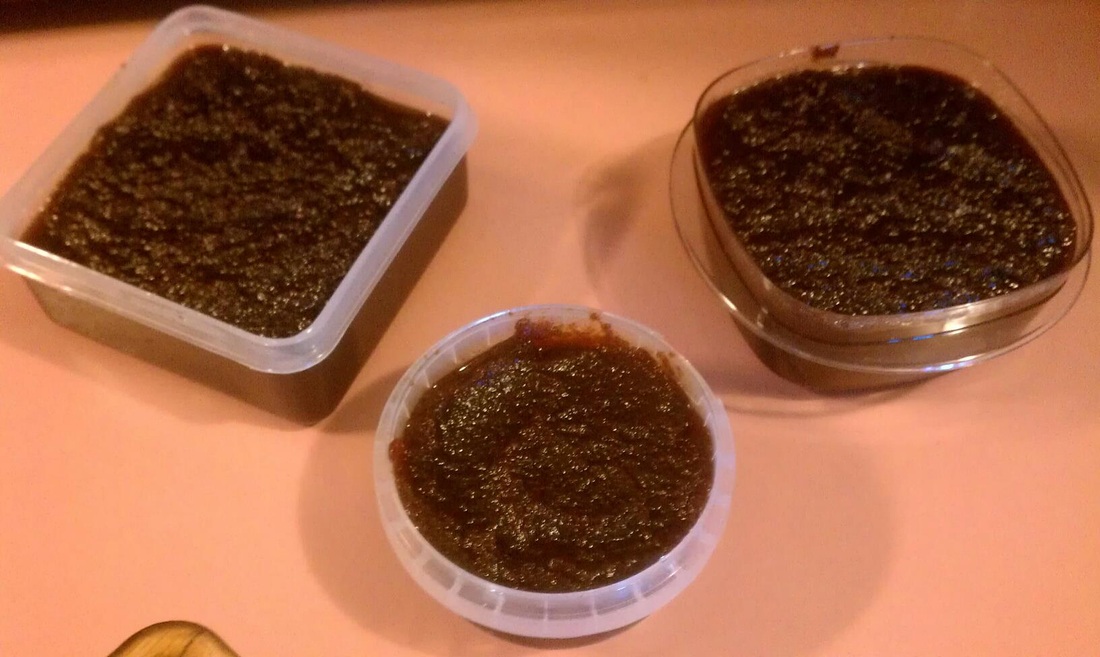
Step 5: Pour apple butter into jars for canning. Unfortunately, I did not have any canning jars, so I just used resealable plastic containers instead, as I KNOW that my family and I are going to eat through this rather quickly. I can ALWAYS make more!
Step 5: Pour apple butter into jars for canning. Unfortunately, I did not have any canning jars, so I just used resealable plastic containers instead, as I KNOW that my family and I are going to eat through this rather quickly. I can ALWAYS make more!
So, that has been the extent of my cooking escapades this time. Feel free to try these for yourself and post your experiences in the comments section below, along with any changes you may have made to make these recipes even better!
If you enjoyed what you've read and feel others could benefit from this information, please do share the link to this post on your favorite social media site.
While you're here, sign up for the Dirt Momma newsletter to receive updates on what's been going on in Dirt Momma's garden and kitchen, and learn a few tips and tips along the way! Thanks so much! :-)
Until next time...
Happy digging!

 RSS Feed